
I had better catch up on the ’58 Roma project as the frame is now ‘in the queue’ as they say at Velocolour waiting to be brought back to life by Noah Rosen. Given the age and value of this Roma Olimpiade it was a bit of a tough decision to have it repainted however the finish was very, very poor. And if it was not for the two years that Noah spent perfecting the ‘lizard yellow’ paint chemistry with the ’61 Gran Premio project, I would not have considered repainting this bike. Along with a talented graphic artist in my studio, we also recreated the Legnano decal artwork to exactly match the originals. And finally, there are Noah’s exceptional talents as an artist that do the Bozzi name proud in my books.

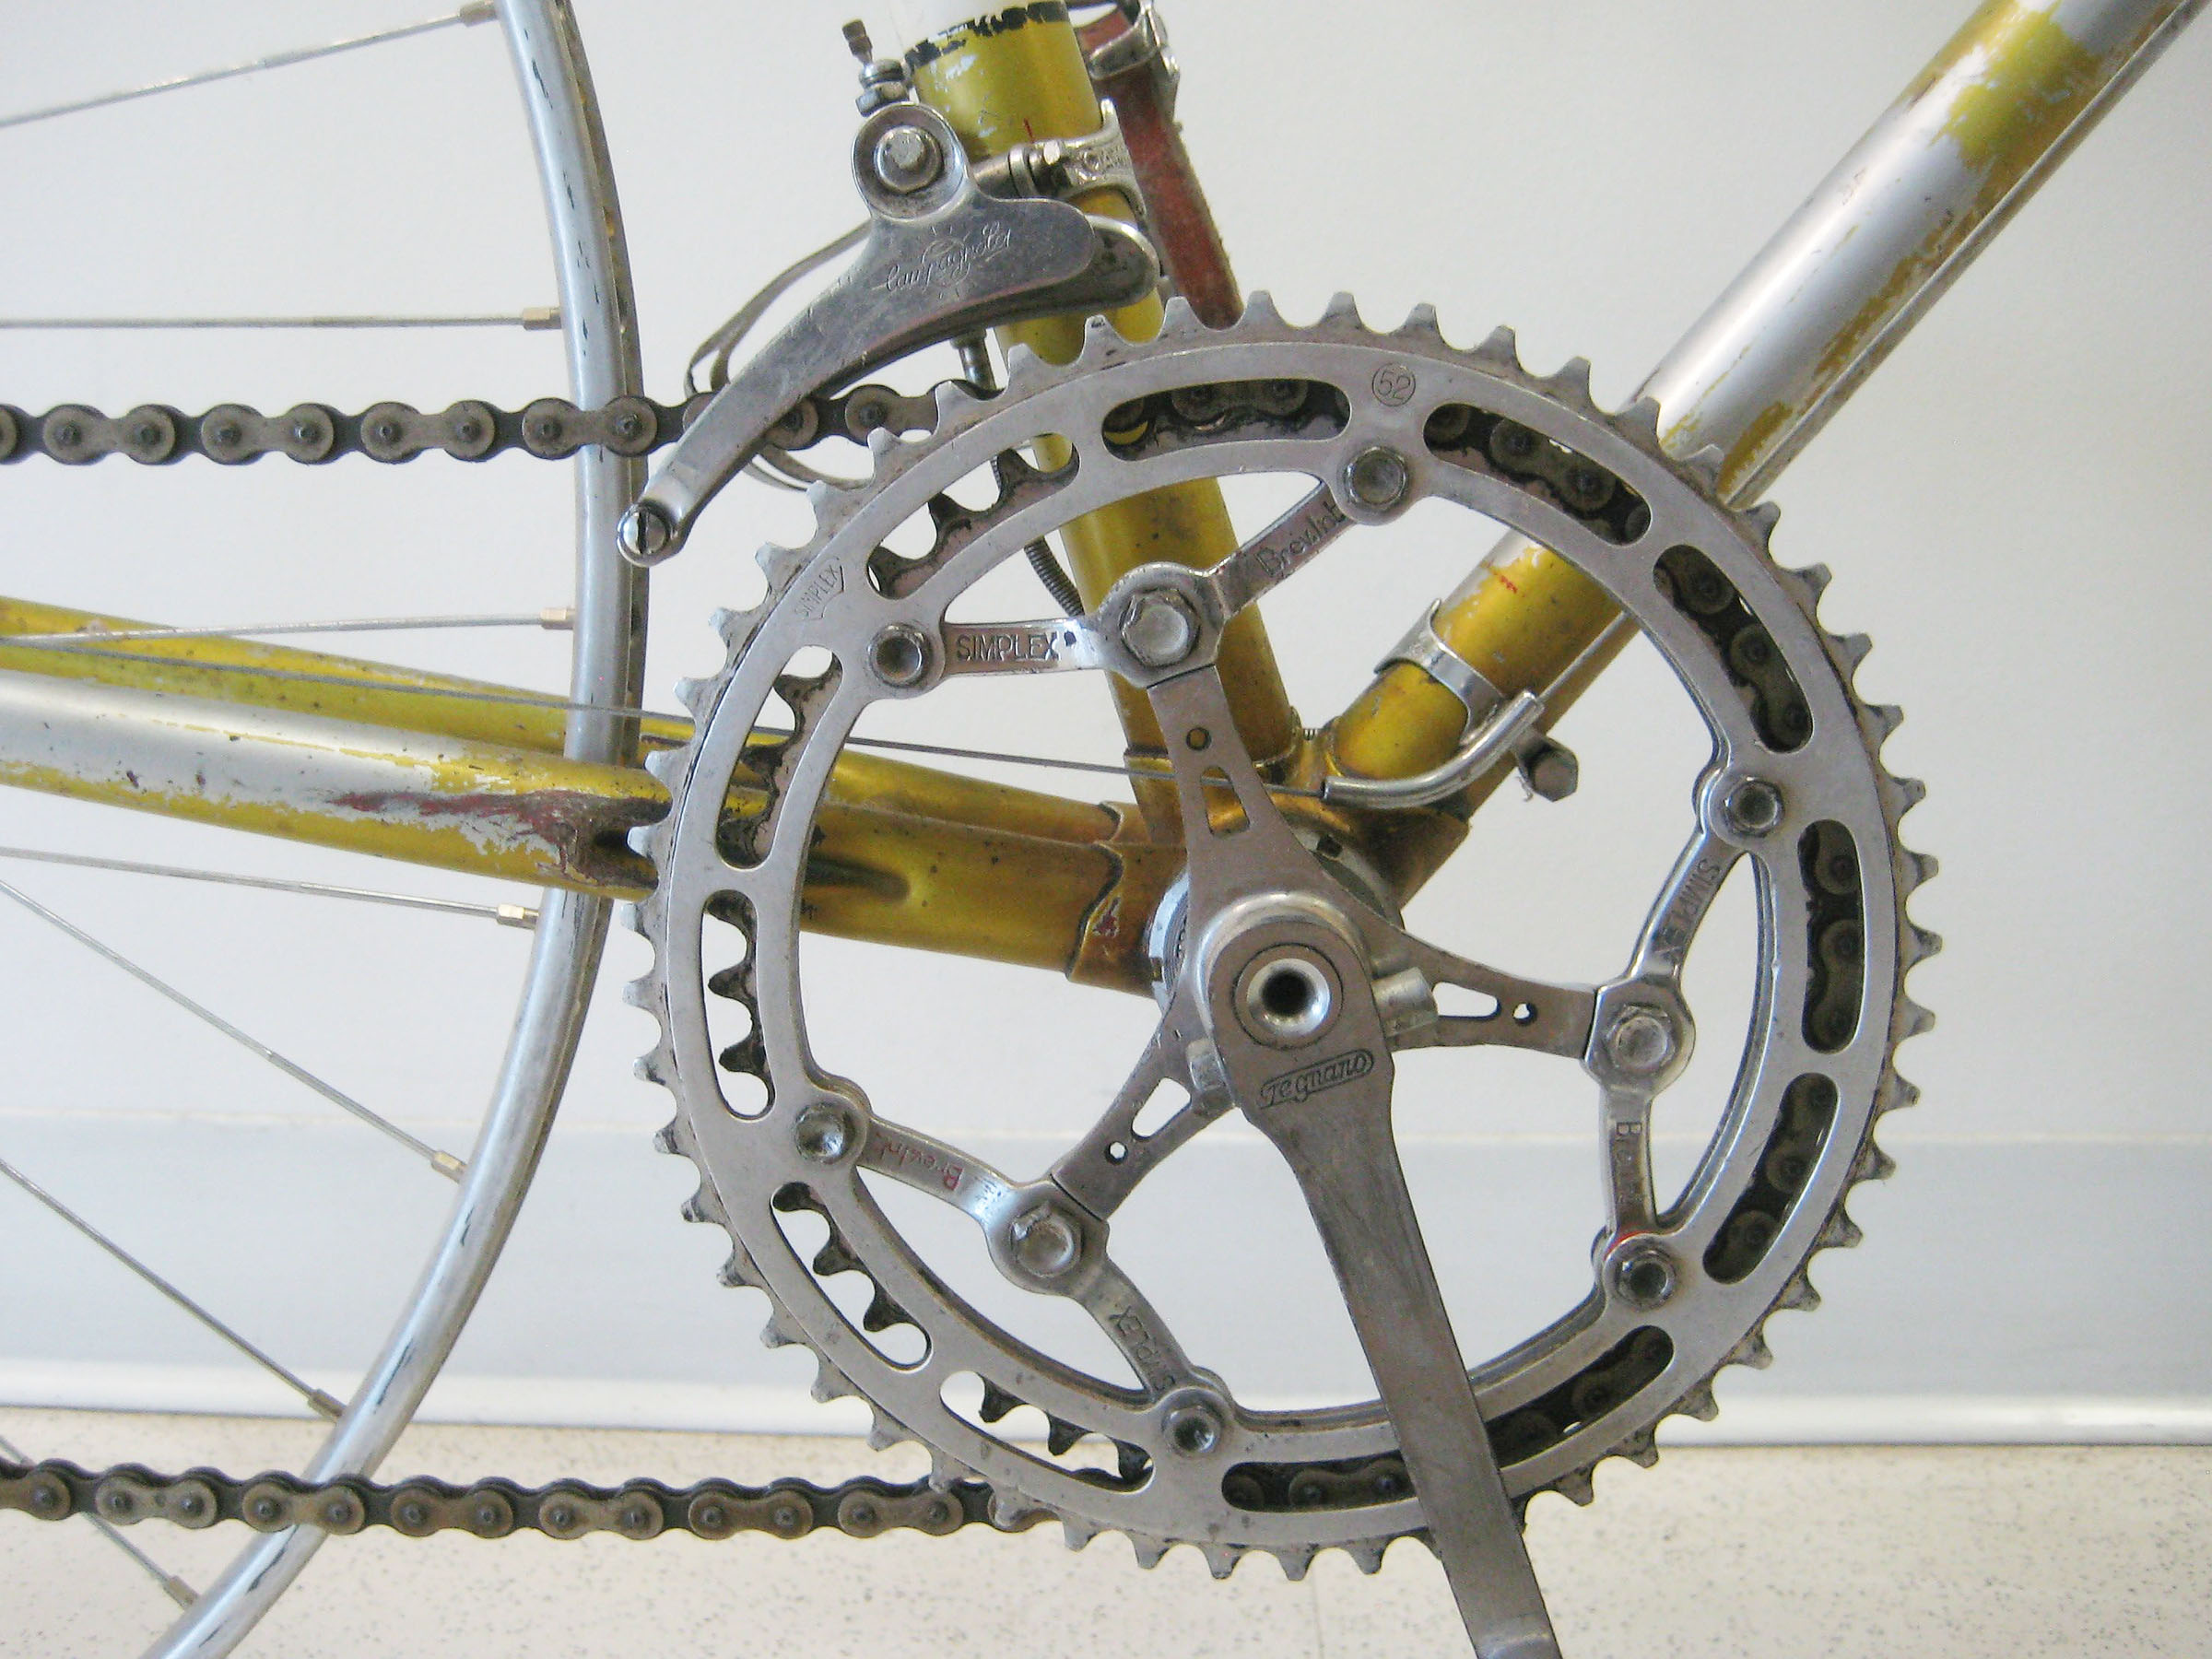
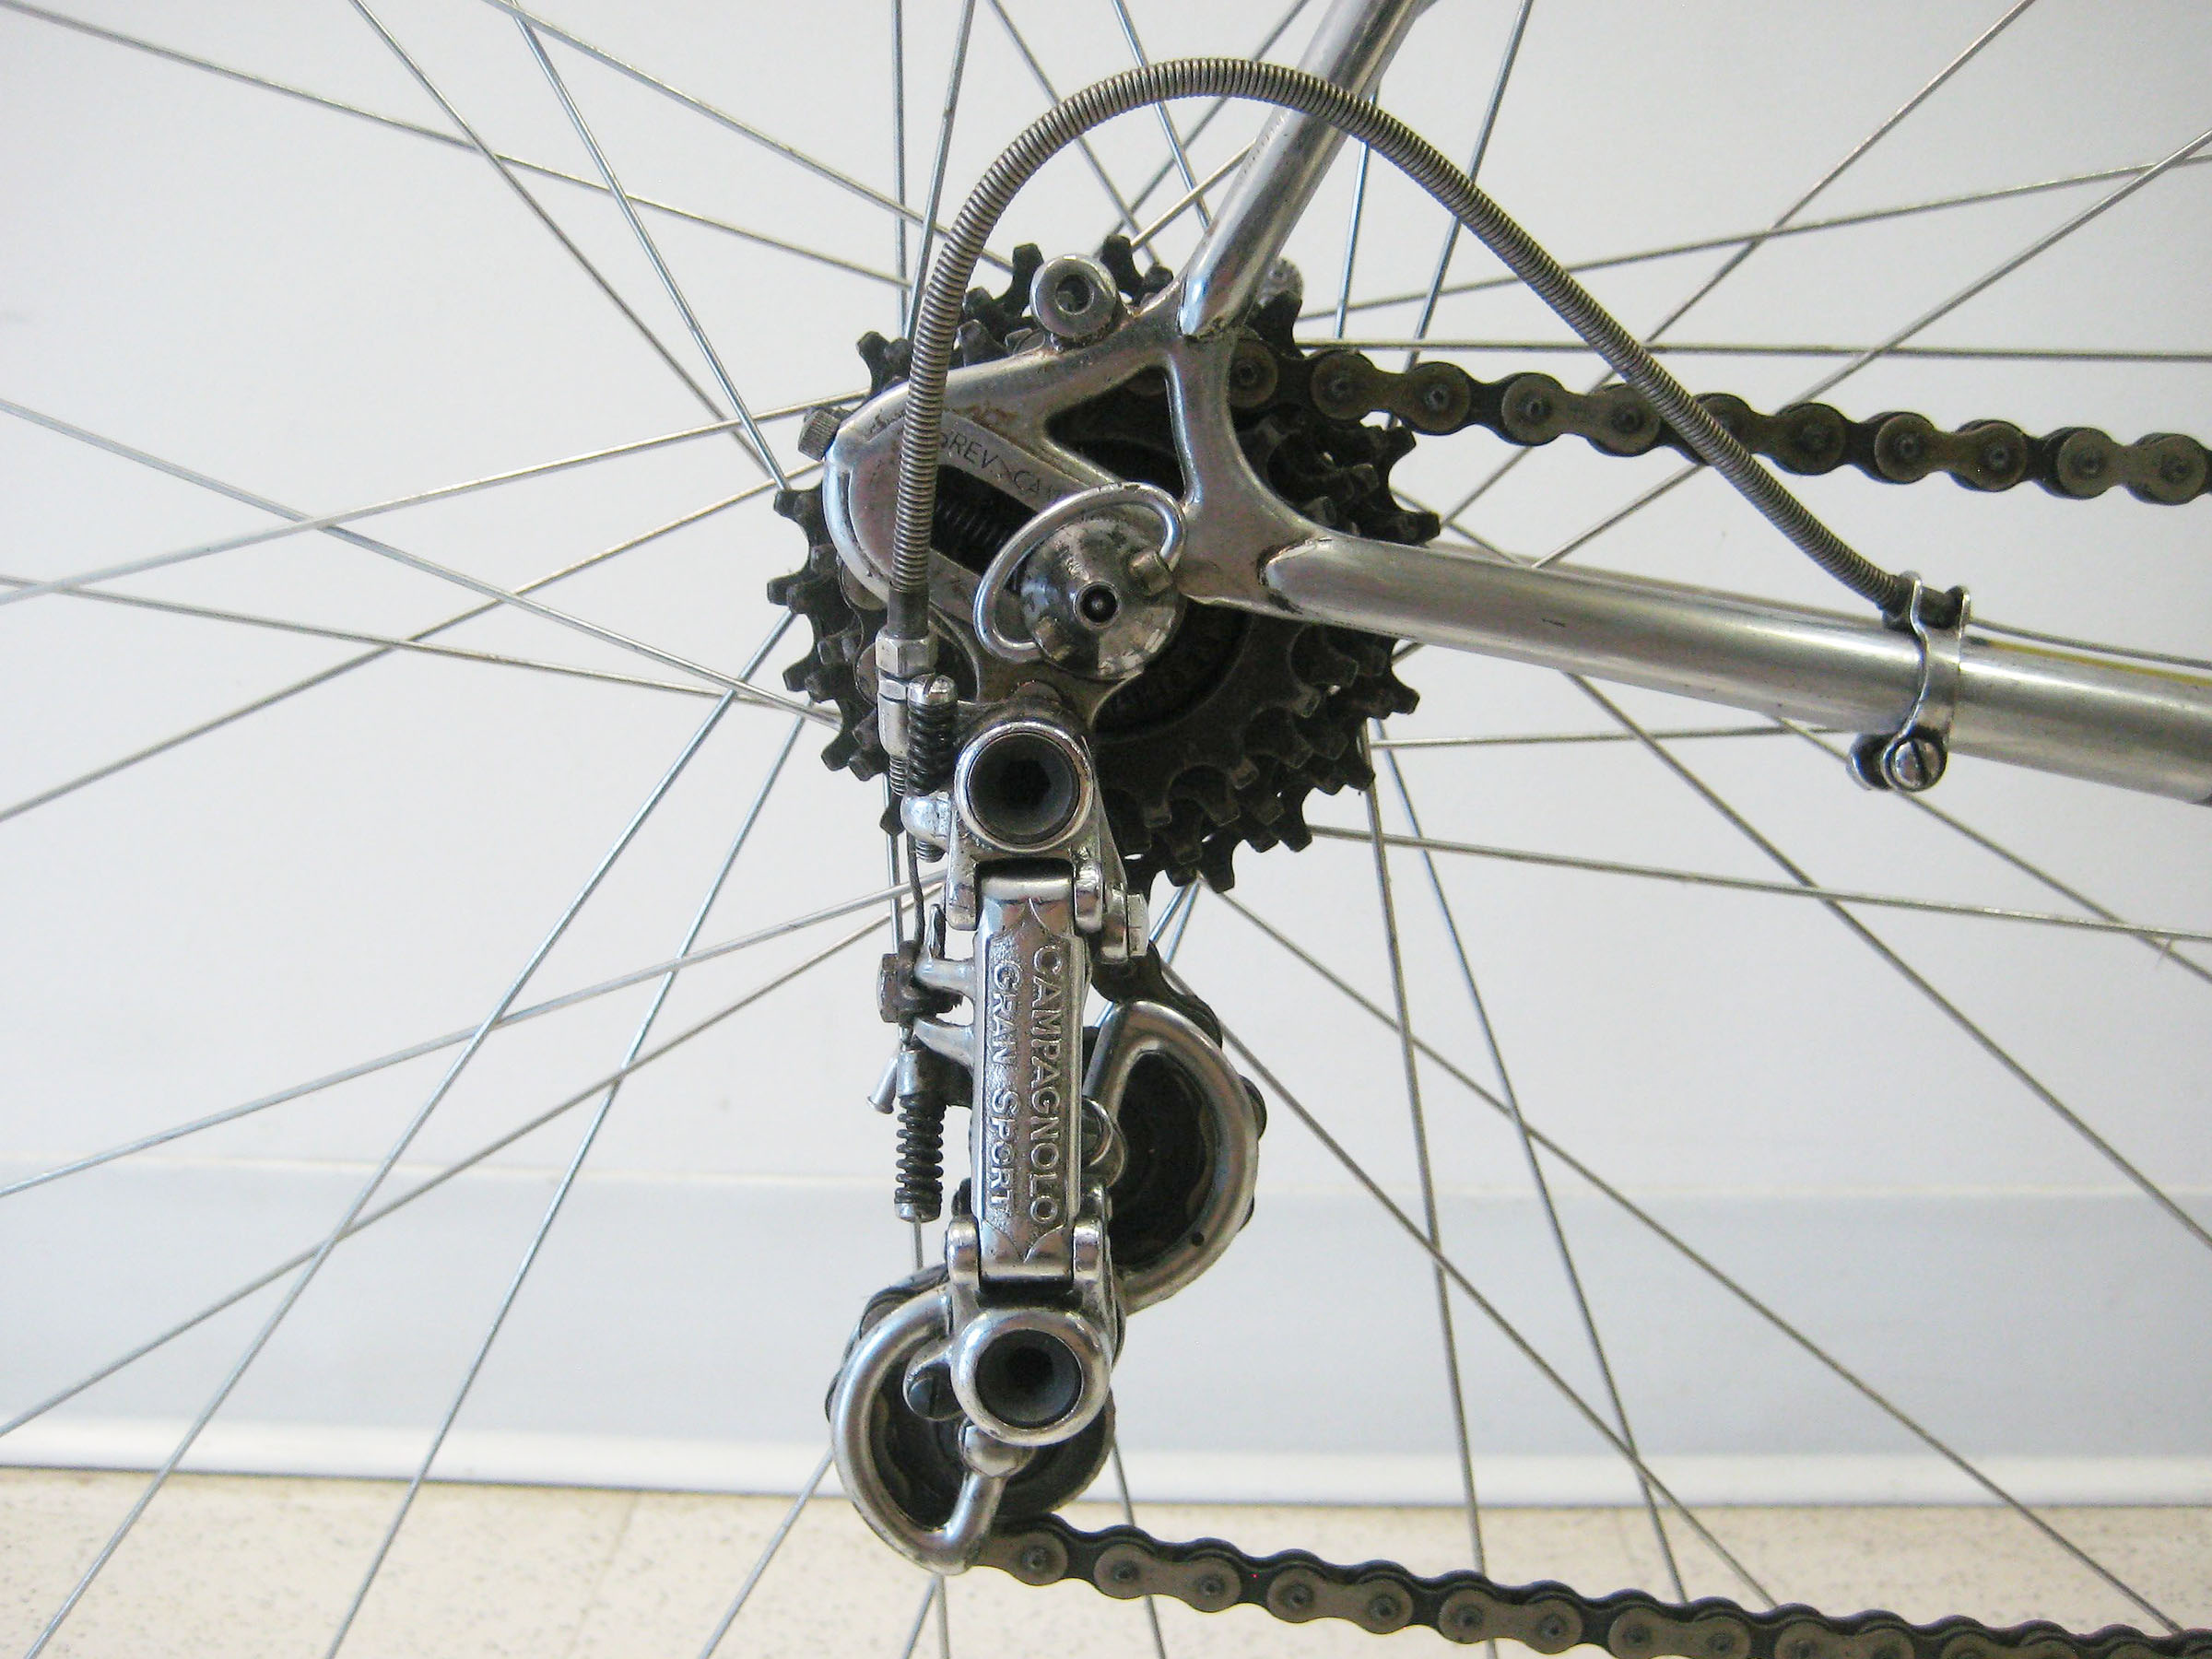
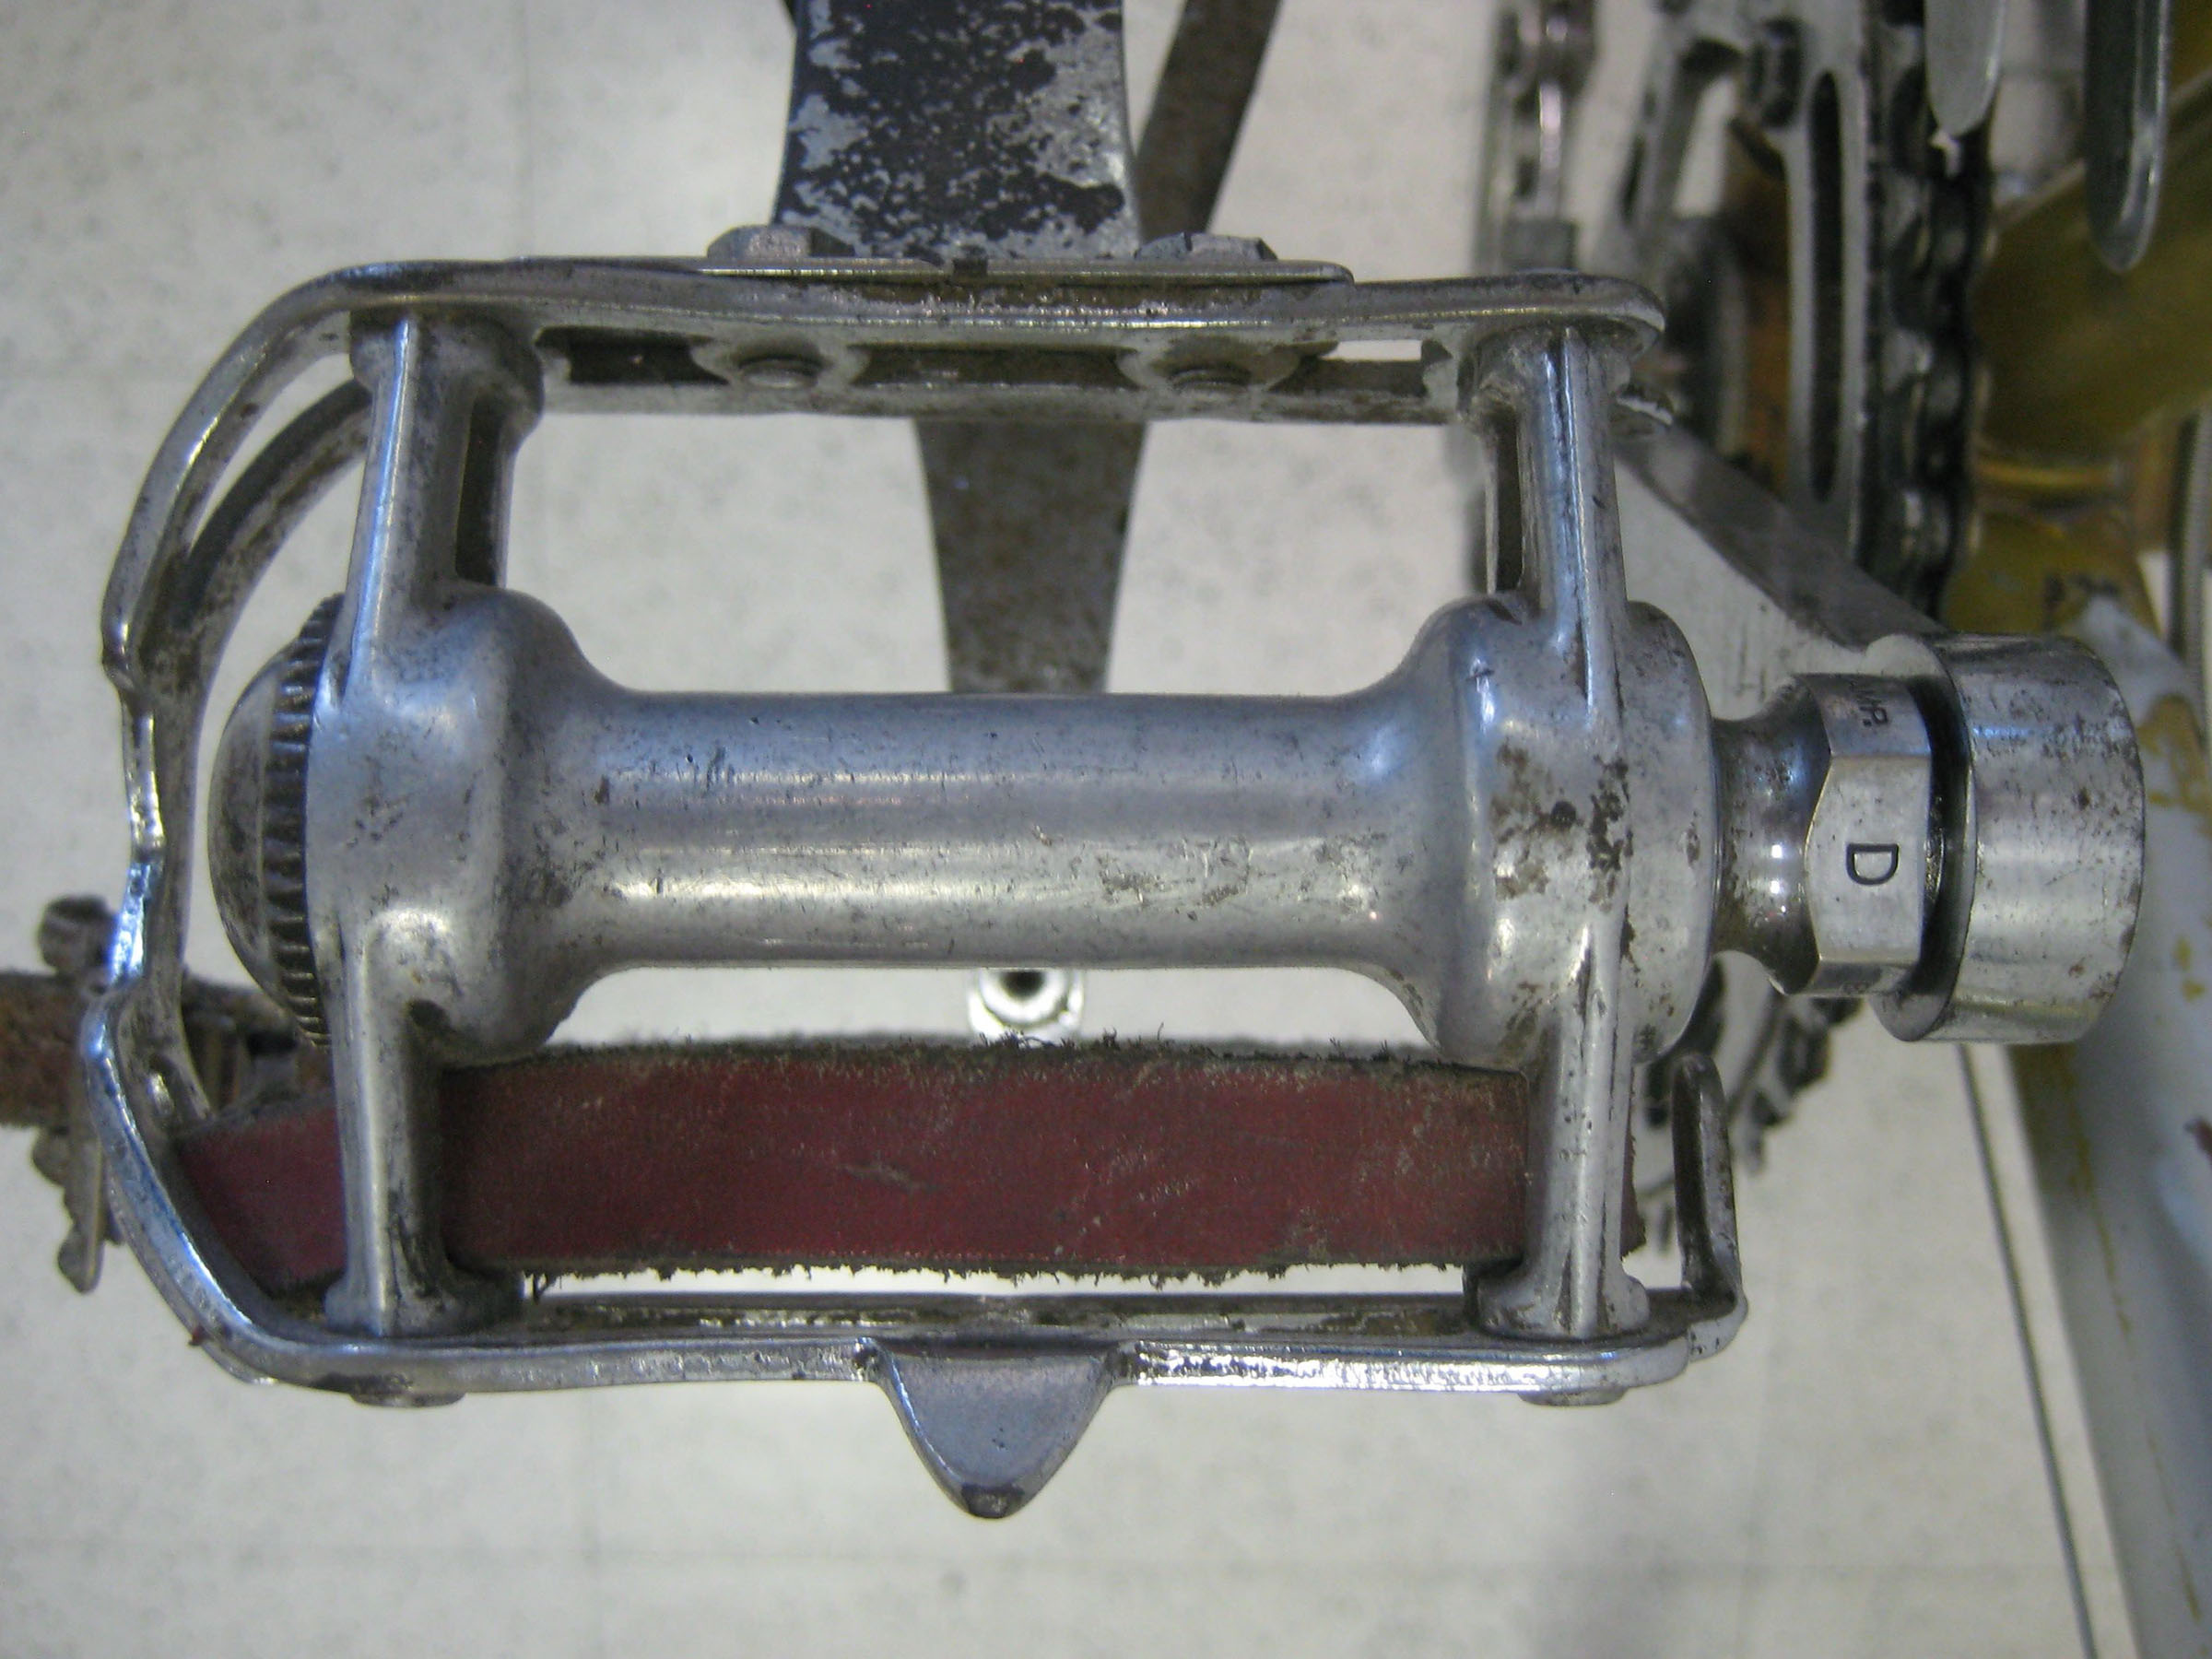
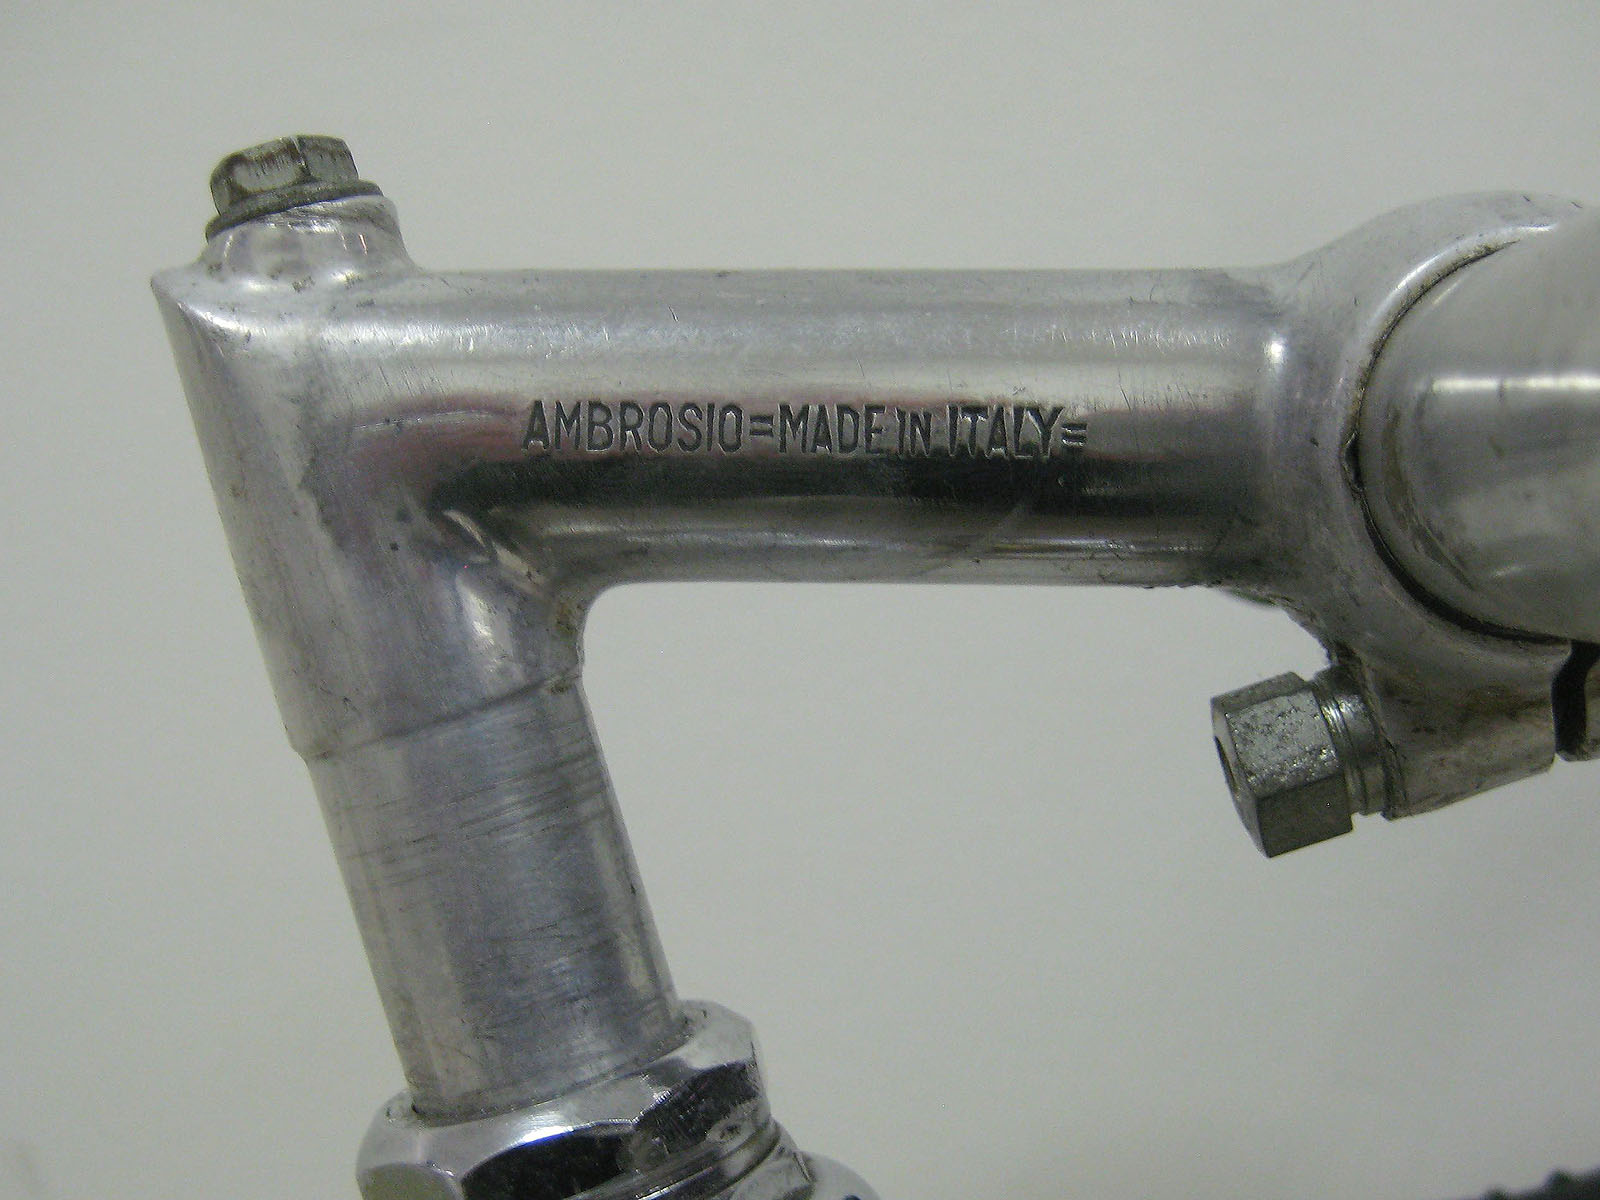
Always take extensive photography before you disassemble a bike as well as after it is disassembled. What seems obvious at the time can often become a distant memory even after a few months depending on how many projects you may have on the go. It is also important to fully document the location of decals, pin striping as well as the start and stop of chrome stay and fork finishing, etc. before the frame has been stripped to ensure it can be put back exactly as it was. Even from one year to the next there can be subtle differences in the decal and paint scheme that are best captured in pictures. As an example, here are a few images from perhaps a hundred that were taken for this project before that frame was handed off to Noah Rosen.


I like to include a tape measure in the pics whenever possible as it captures any tolerance or how the measurement was taken. In the case above it indicates the width of box lining when measured around the tube which is different that a straight measurement across the tube.


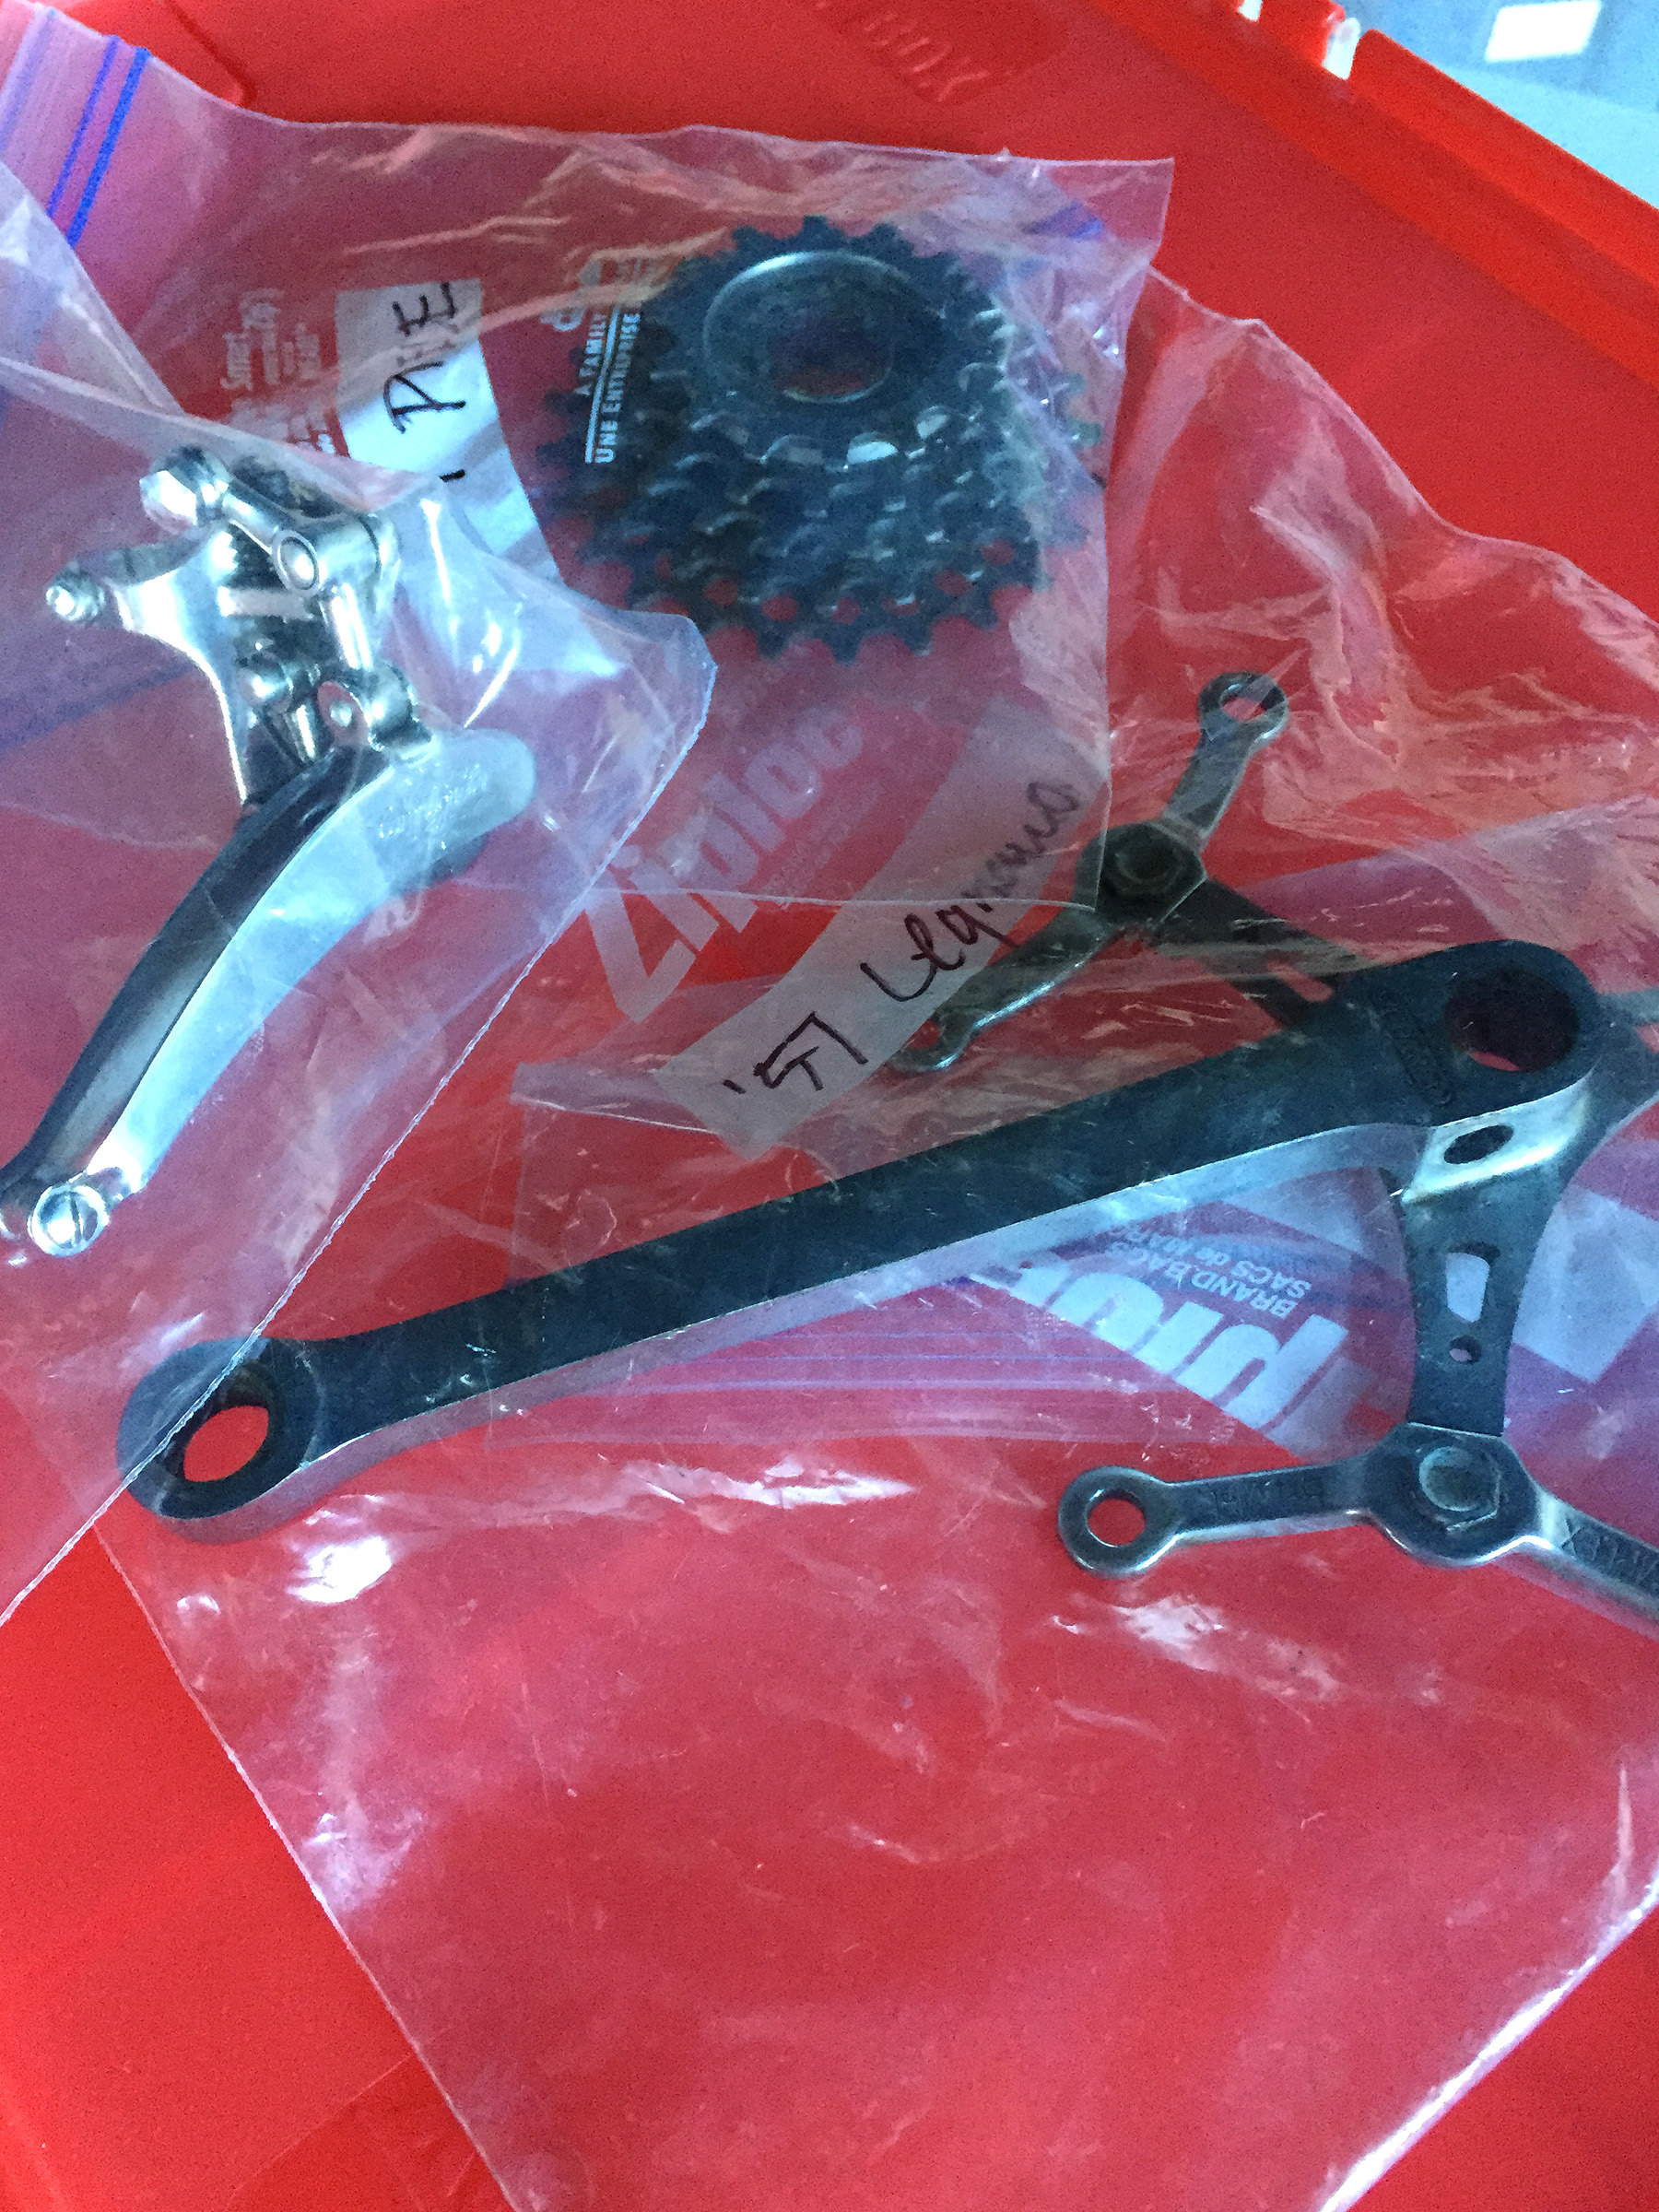
And the same with the assemblies and parts.


The final step is to put each component in a separate ziplock bag, mark the bags where necessary and keep all of it together in a box to make sure none of it goes astray.


And a label on each end of the box as it makes it way to the stack of parts and projects in the back room waiting for time and attention, something that there just never seems to be enough of.
