
As the saying goes, “a bike can be restored many times but it can only be original once”. Thinking back to when I began the Legnano Collection, this somewhat obvious wisdom means much more to me now. And I have become a little less quick to refinish a frame unless the original paint and plating is really in bad shape. Unfortunately the original Legnano factory finish and decals are very fragile, and tend not to stand the test of time very well.
There are some collectors and enthusiasts that would never consider a respray no matter what the condition of the original factory finish or what may be left of it. Time has made it what it is, they would say, and we should respect that history and leave it alone. However, sometimes that history can involve years of neglect to the elements rather than the patina of being on the road in good service. And over the course of 40 or 50 years and several owners, both may be the case.
There are now more than twenty bikes in the Legnano Collection and I have fully refinished three of them. Two were in extremely rough condition with bare metal showing on much of the frame and I have no second thoughts about having repainted those bikes. However I do regret repainting the 1961 Gran Premio when I look back on the photos, it should or could have been left with it’s factory paint. Chalk one up to experience as they say, there’s no going back now.

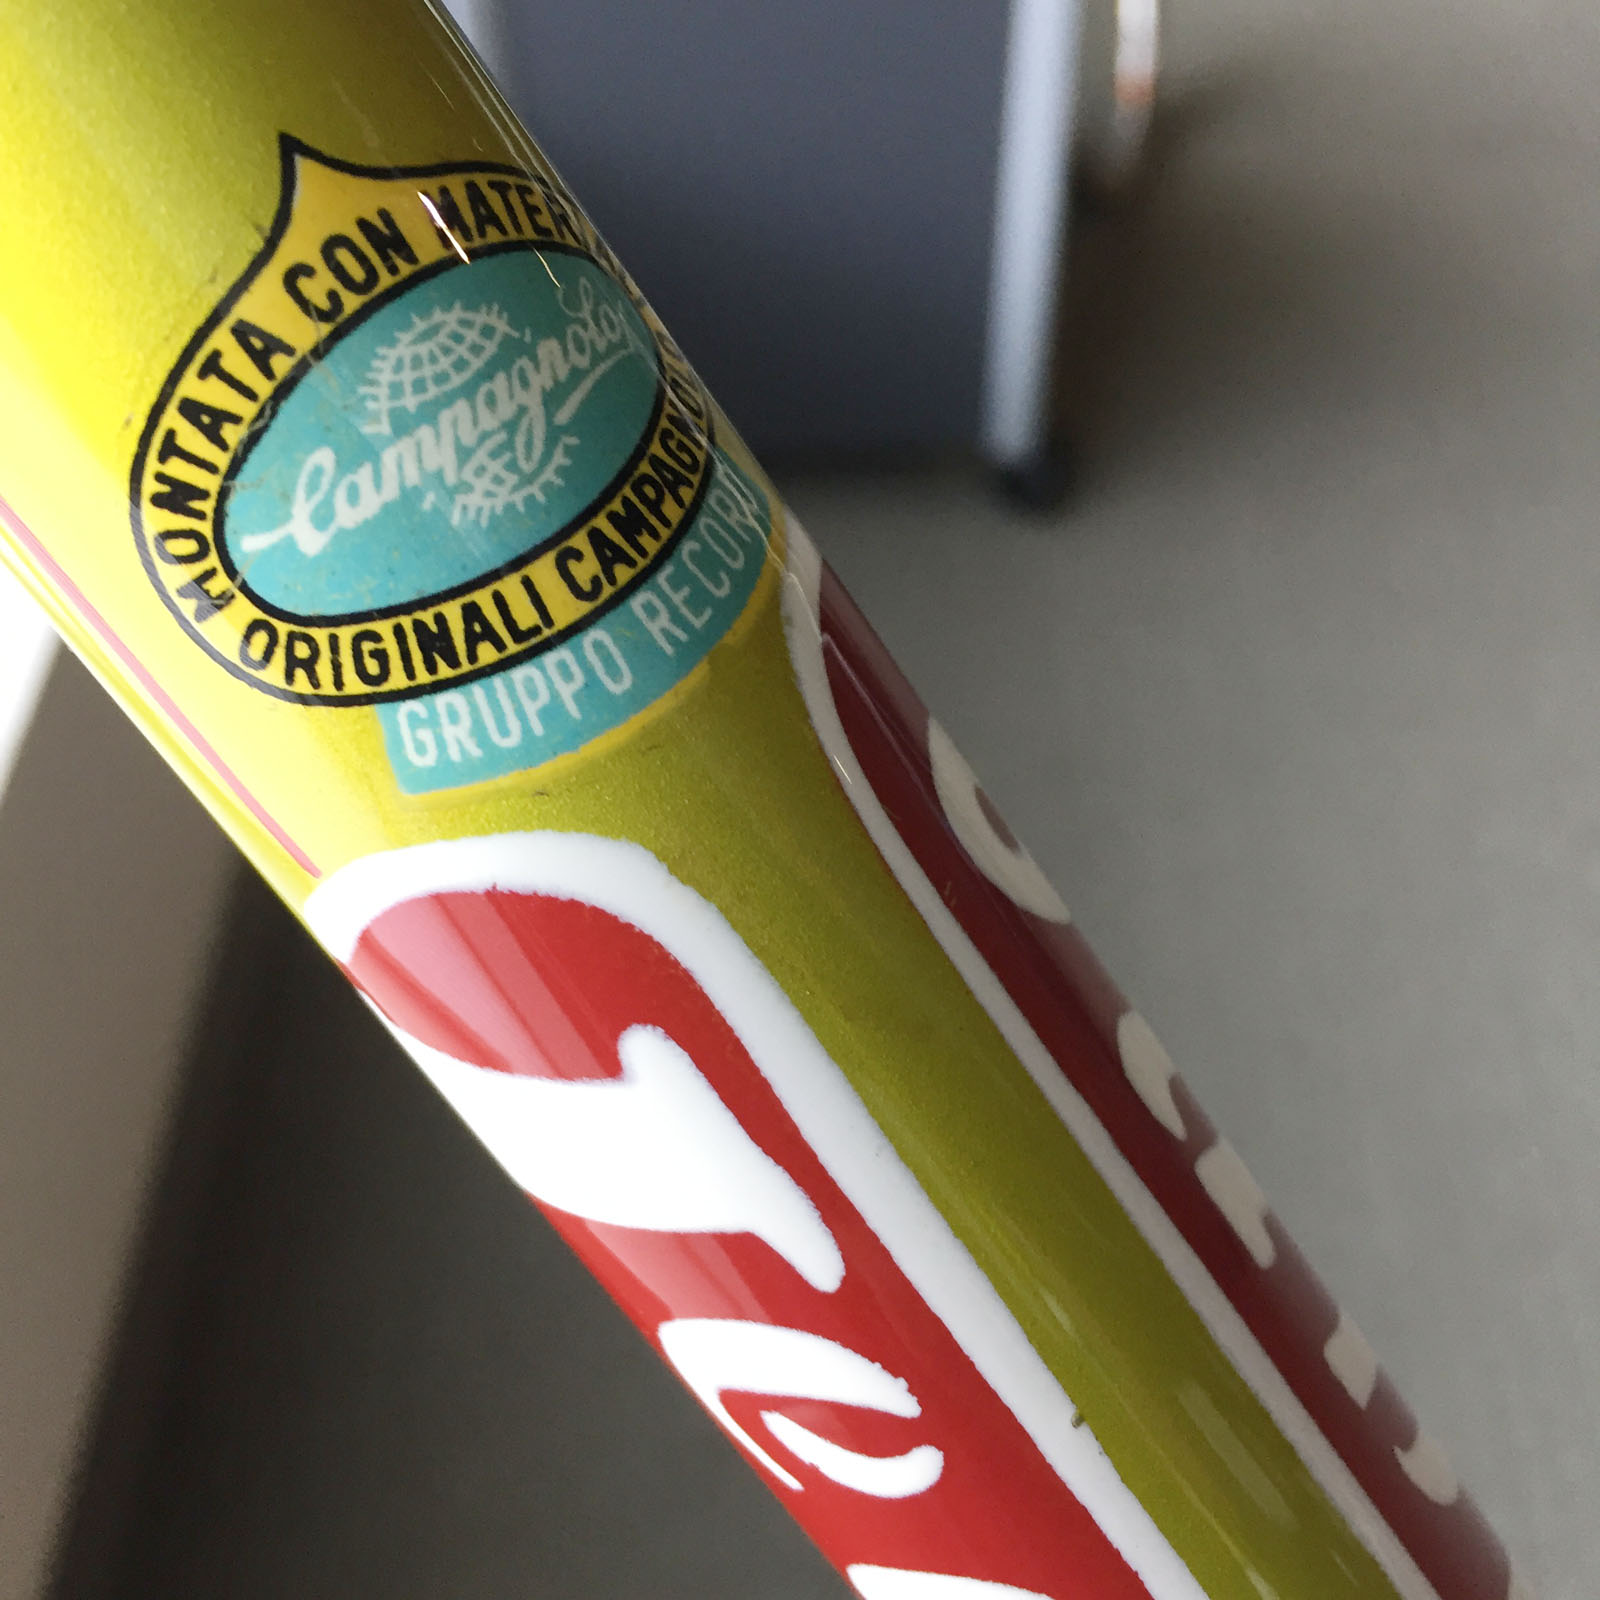

Today I stopped by Velocolour to pick up the 1967 Roma (above photos) that I acquired earlier this year. This bike had been well ridden but also well looked after over the years, and overall the paint and decals where in pretty good condition. So this Legnano received my preferred approach in this condition, which is to carefully and throughly clean the frame after it has been dismantled, mask off all of the chrome plated areas and then apply a light polyurethane clear coat. A word of caution here, never EVER use any masking tape on painted areas of the frame as it will undoubtable lift the original paint and/or decals no matter how light the adhesive may seem.
Even still I can see some of the hard core enthusiasts shaking their heads. However I have reconciled this minor enhancement, or intrusion into time, as being preferable to the continued deterioration of the bikes finish to the point it would require new paint. Properly done the clear coat also brings back much of the original lustre and transparent quality of the original lacquer. In addition, the clear coat protects the older water-slide decals that are prone to cracking and peeling.
It is important to use only polyurethane clear coat for this process as it does not react with the chemistry of the original lacquer paint. From all of my experience to date, the polyurethane will also not react or disturb the silkscreen process that was used to create the Legnano waterslide decals. However a small test is never a bad idea if you have any doubts as to the chemistry of the polyurethane.
Where to begin:
The key to this process is to ensure that the frame is throughly cleaned, as you do not want to trap any dirt or debris below the clear coat. This work has to be done very carefully as any damage that you do to the original paint or decals can not be undone. The first word of advice is not to use any cleaner or product that is solvent based or is too abrasive in nature. The second word is to work very slowly and patiently. Thirty or fifty years of old grime may take takes as many hours to remove if not more.
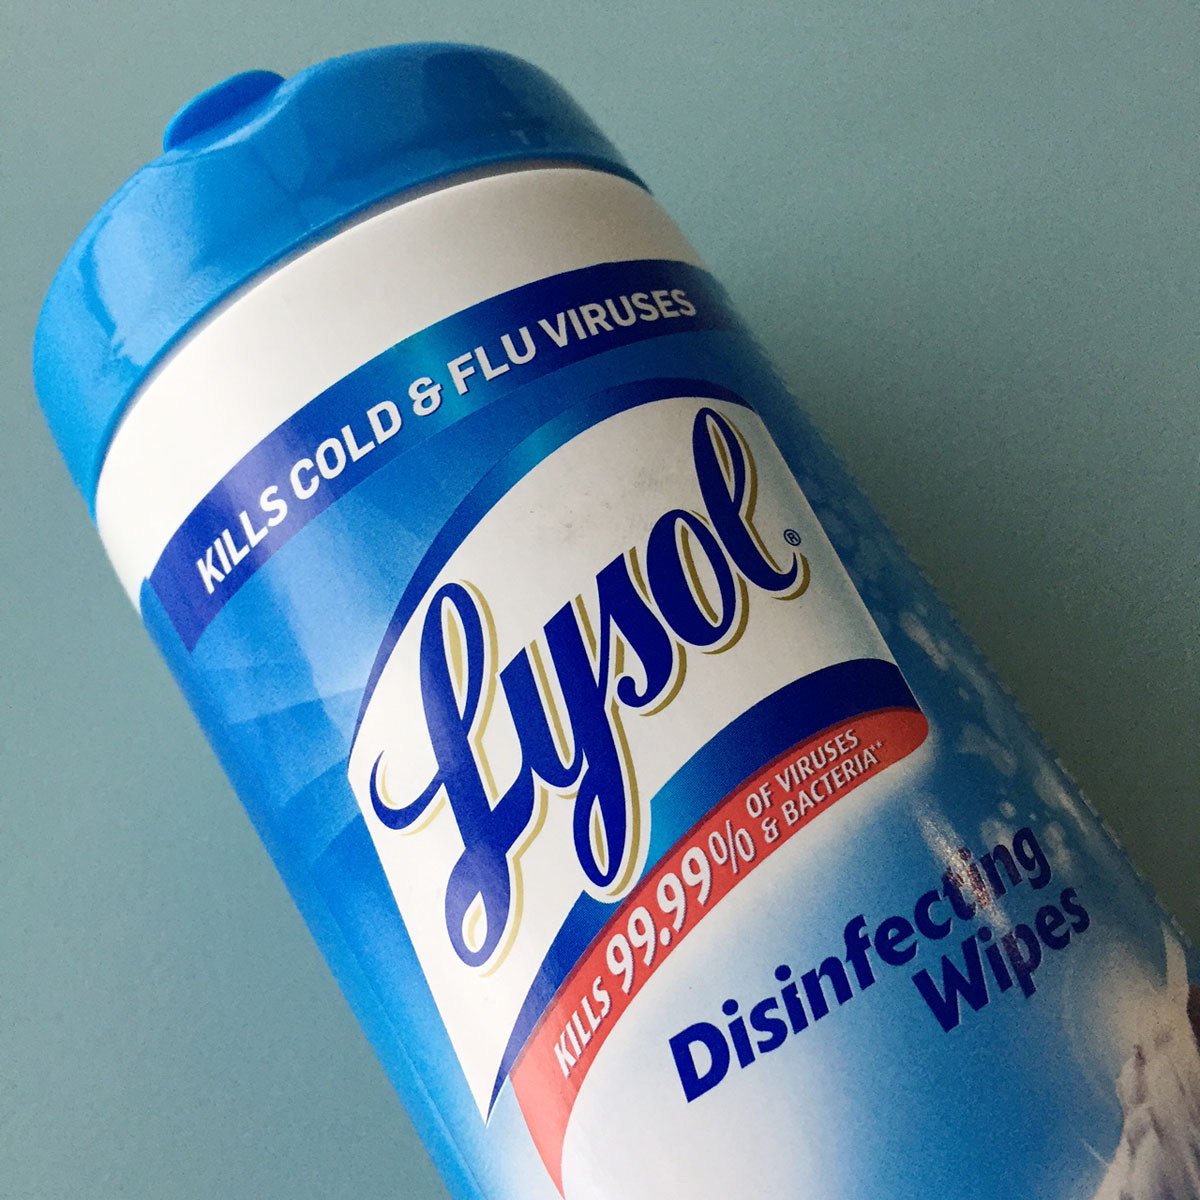
I like to start the process with the ‘Clorox’ or ‘Lysol’ disposable wipes, although I am sure that other brands will do the same job. To be sure I always test them on one of the less visible areas of the frame, just to make sure that they do not show any traces of the paint colour when cleaning. So far, I have not found these products to attack any of the Legnano finishes or the decals.
I will work away with these wipes for a few hours at a time over a week or two. Yes, slow work but you begin to see progress. As I encounter the more stubborn areas, I use a VERY soft bristle toothbrush and some diluted liquid kitchen soap to carefully work away at any build up of old oil or grease around the lugs, bottom bracket and dropouts. And then move work some more with the wipes.
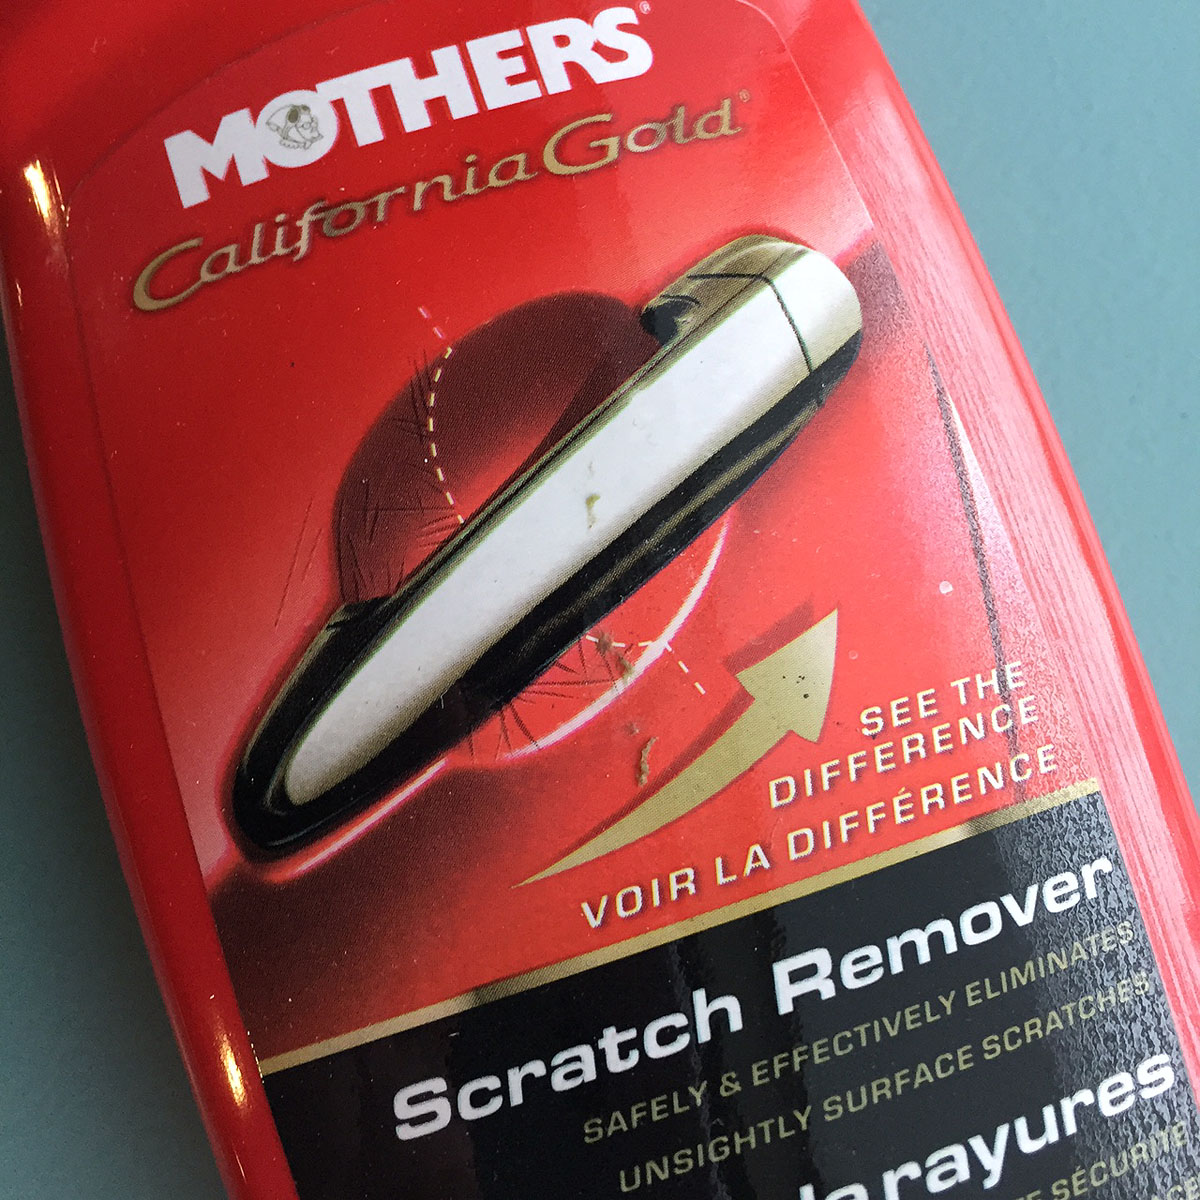
Resist any temptation to speed things up by using a hard object to scrape or chip away at old, hardened grease or road grime. Sure enough, the paint will come away with the dirt if you do so. The only other product that I use (with extreme caution) is an automotive product called ‘Mother’s Scratch Remover’. Essentially it is a liquid polishing compound that contains a mild abrasive element. This product can work to remove the ‘haze’ on old paint or to help with some of the staining that can be left on the paint from pump or brake cable clips.
But I can not stress enough that you need to work VERY VERY slowly and carefully with any rubbing compound. If you have an old frame kicking around that has no real value, practice for a while so that you get a feel for the product. It also helps to keep any eye on the cleaning cloth to see how much of the finish or paint colour is being removed as you work.
The head badge:
If the Legnano is pre 1970, you will eventually come to that lovely brass head badge of Alberto da Guissano that is pinned to the head tube with five brass rivets. What to do? There are some real imitations here as using a brass cleaner can damage the surrounding paint that is white in most cases. And the white paint that was used by the facctory is also relatively soft compared to the rest of the bikes transparent lacquer and easily damaged. There is also a lot of fine detail that makes this area difficult to clean.
The best way to tackle the head badge is to remove it however depending on your experience, I would leave this part off the project to an experienced frame refinisher. It is not too difficult to remove however you need to carefully file back the back side of the rivets from inside the head tube or use a shear punch for this work. With the back of the rivets removed you should be able to remove the head badge with your fingers. Never attempt to remove the head badge by prying or forcing it from the outside off the frame as you will permanently damage or tear the badge.
Once the head badge has been removed you can clean up the head tube using the same process as the frame but go very easy with the scatch remover on the white paint. In most cases you shouldn’t need to use it and the wipes should do a fine job. You can also use the brass cleaner now to polish up the head badge but again work patiently and avoid too much pressure that could distort the curvature that aligns the badge with the head tube diameter.
Once you are finished polishing up the head badge, try not to touch it with your bare hands as the oil from your skin will start the oxidation process and leave dark stains where you handled it. Put the polished badge in a small zip lock bag until it is time to clear coat the frame and then also clear coat the head badge as before it is put back on the frame.
Do I really need to go to all the trouble of removing the head badge? Why can’t I just clean it up and clear coat over everything? Well you can however the clear coat will tend to collect in the detail of the head badge and all around the exterior edges where it meets the frame. This will look crude or amateurish for lack of a better word and it will seriously detract from the overall result of your restoration efforts.
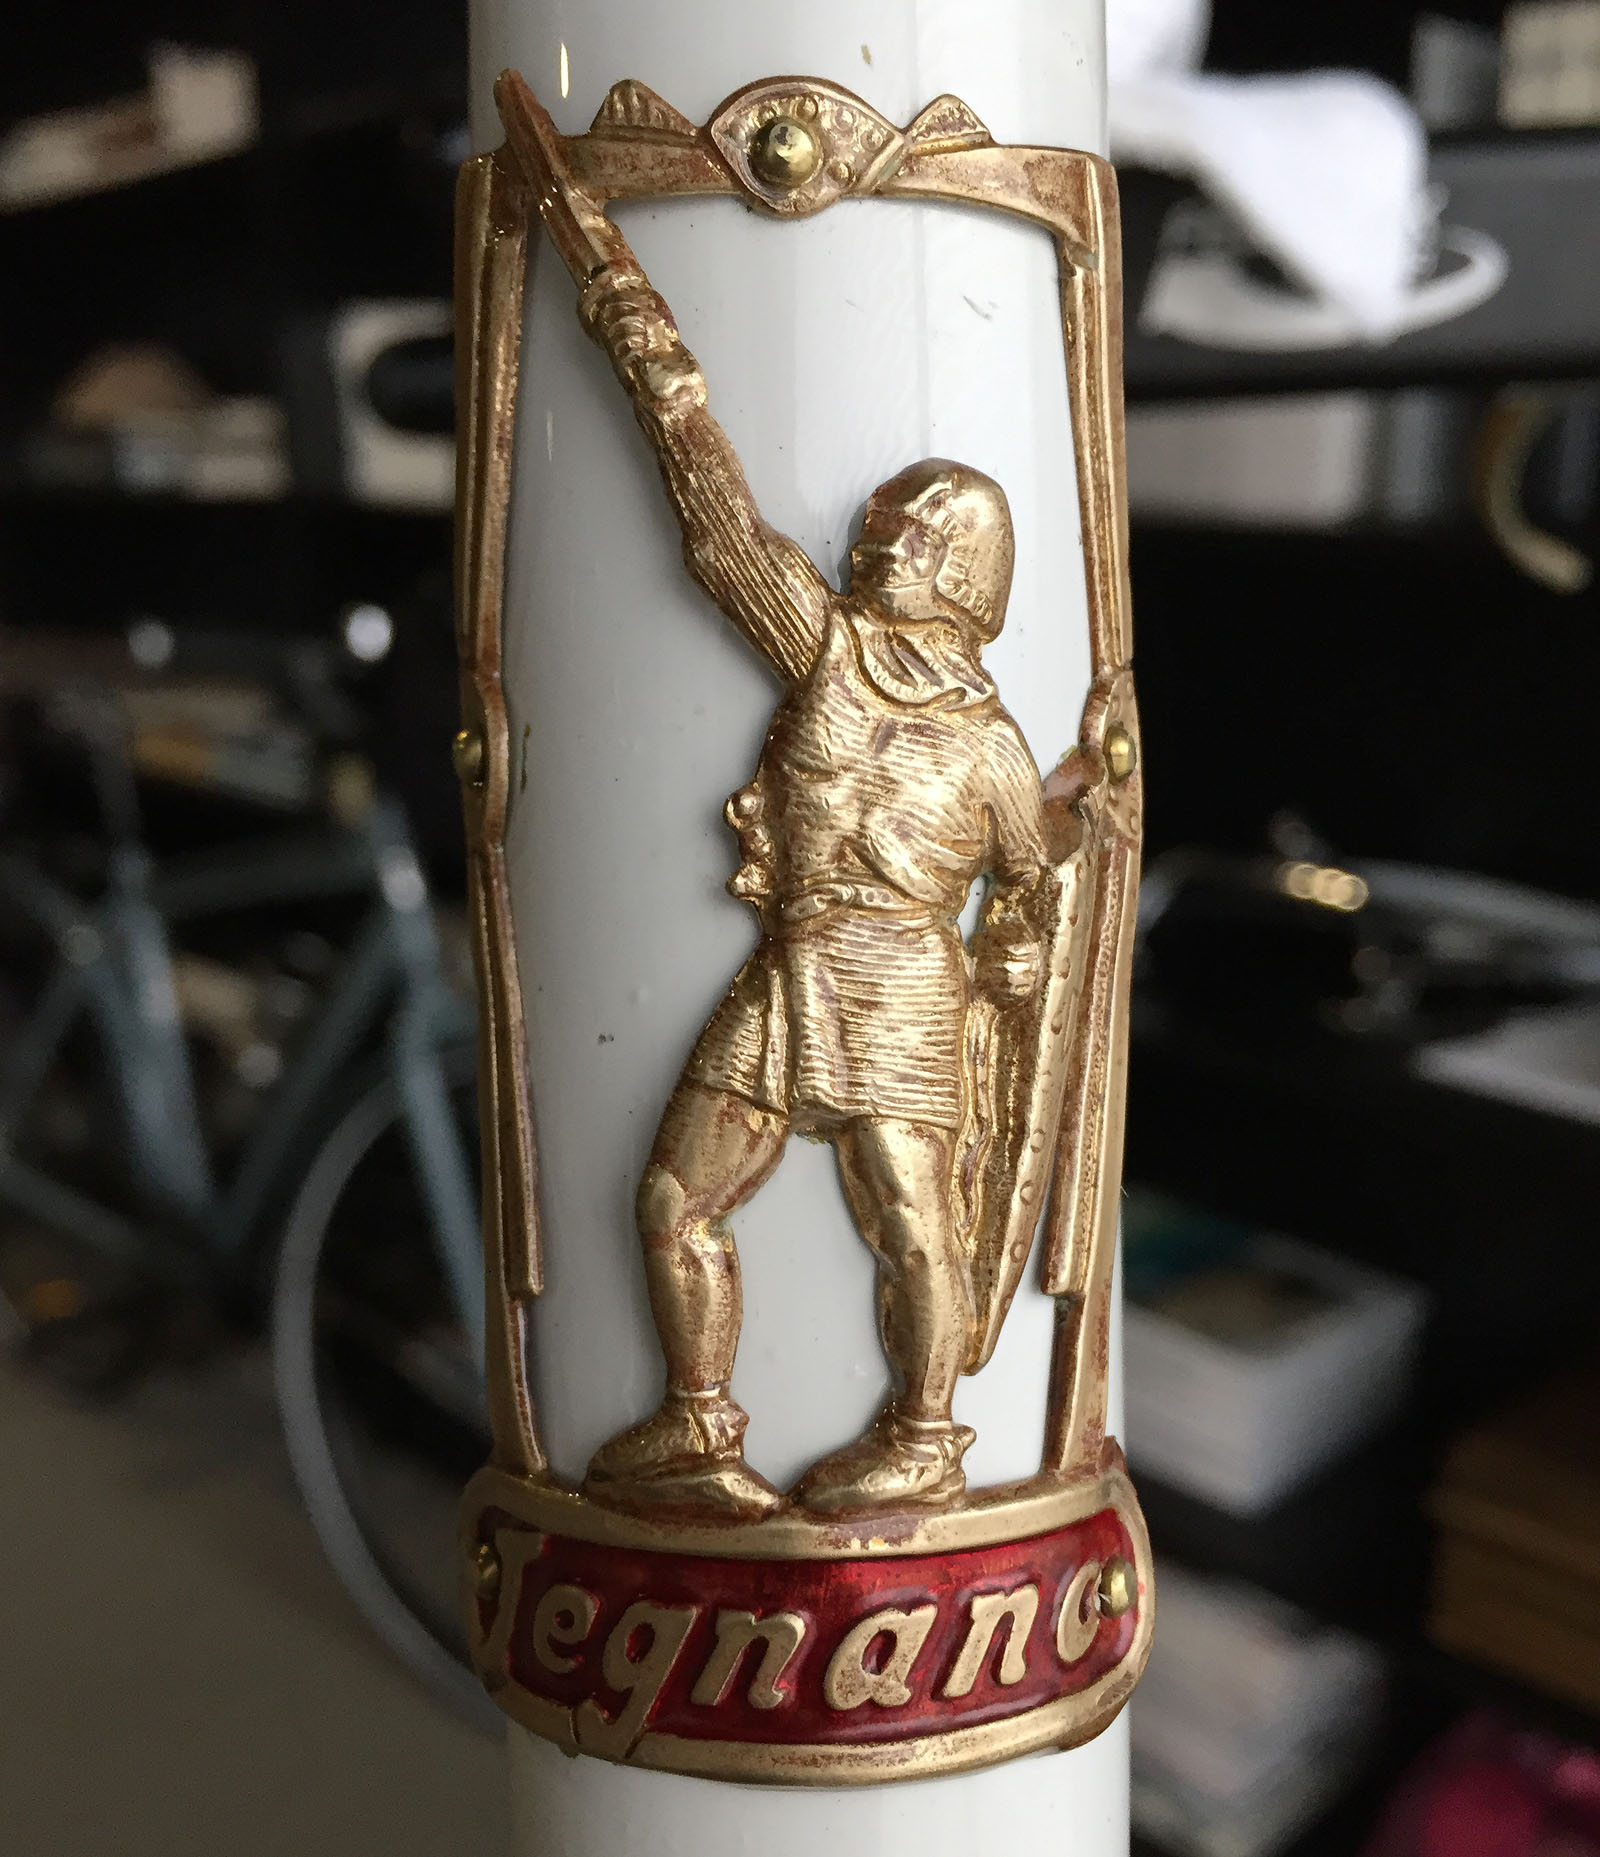
Reattaching the head badge should be left to a professional frame refinisher as it is tricky work if you do not have the correct tools and experience. I often see head badges that have been refitted with small screws and I dislike this approach and would not encourage anyone to go this route if they have come this far in the process. Solid brass rivets that match the originals are available at very little cost and I will check my files and add a link for anyone that is looking. The photo above shows the finished result and reward for your patience and hard work.
more to come . . .

That’s nice work on the badge! I have two rough condition Roma Olymiades that I carefully cleaned, frame saver’d, used an artist’s brush and dabbed Extend on the rust patches, replaced bearings, brakes, and cables, plus bar tape and just stopped there. I think of it as a rat rod! There is a fellow in Italy selling original checked green and blue brake cable housing, if you didn’t know that.
Can you email me? I have some extra parts I’m interested in trading off.
Thanks!
Jeff
“Roma Olimpiade”
Wow you do great restorations! In restoring a 70s Legnano I’m about to chuck everything in an oxalic acid bath as there’s some rust all over.
After that, based on the result I’ll see whether to just polish it as is and keep the patina, or if worse than expected I’ll have to respray (which I’d much rather avoid). From my research, the OA does no harm to either paint or decals (most of which are cracked or peeling but I’m happy to leave them as they are.
Sadly while some chrome parts are good as they are (cranks) most of the chrome is history. I’m thinking of (cover your ears) a chrome aerosol spray over black gloss for now and possibly rechrome later when funds allow.
Any thoughts?
Thanks a million!
STOP THE PRESS! Would strongly advise NOT putting the bike in the oxalic acid bath . . . and yes, my ears are burning . . . do not spray the cranks. From what I can see of the photo on Facebook, you have a very nice Legnano ‘Condorino’ from the very early 70’s. The bike will retain much more of its value if you essentially leave it as is. If you are going to do anything . . . in whole or in part . . . do it properly or don’t do it at all.
I do not know your experience level, however if you have not worked on a lot of bikes, I would suggest finding a friend that does . . . spend whatever money is available to you and take the bike to a good quality bike shop and ask them to tear it down and put it back into service without changing any parts or breaking any parts. It’s ok to change brake pads and cables as these were normal service items. Do not change the outer brake cable housings unless it is absolutely necessary . . . and hand on to the old ones.
There is some good quality automotive chrome cleaner that will help with the shiny bits if you do not want to have them plated . . . and here again if you are going to replate any parts, look for a good shop that is used to working on motorcycle parts and they will do it properly. That said, chrome plating was and remains an expensive process . . . done well. Also, do not use any strong abrasive such as steel wool or emery cloth on the chrome parts.
As so many have said, “A bike can be restored many times but it can only be original once”. Put the bike into good working order. Put lots of elbow grease into cleaning it up as best you can. And if you do decide to spend the $$ to have it restore it . . . put is in experienced hands : ]
best,
Mark